

How to replace Xbox One controller thumbsticks
Xbox I controllers wear out a lot quicker than you'd like, especially if you're a heavy gamer. But, earlier you go running to buy a new one, call up about repairing the one you take. If it still fundamentally works as it should simply something is cleaved or worn, you can salvage a package by doing a dwelling house repair job.
In the example of the thumbsticks, they're prone to wearing out, or worse, since they're simply plastic. If you need to replace them, information technology's not really that difficult.
Here'south everything you lot need to know.
- Replacement Xbox One Thumbsticks (about $x)
- Plastic pry tool (near $v)
- Torx T8 screwdriver (about $five)
The latter two items are useful for other things, also, and they'll be universal for whatever repair or customization piece of work you practise on your Xbox 1 Controller. You can get a toolkit with both in for near $ten.
A pair of regular blackness thumbsticks is about $x, but in swapping them out yous could also get for some different colors or styles. As long equally they're compatible with the Xbox One controller, the method remains the same.
How to replace Xbox 1 controller thumbsticks
Because the thumbsticks are on the front and all the screws to hold the controller together are on the back, yous'll need to do a complete teardown by following these steps.
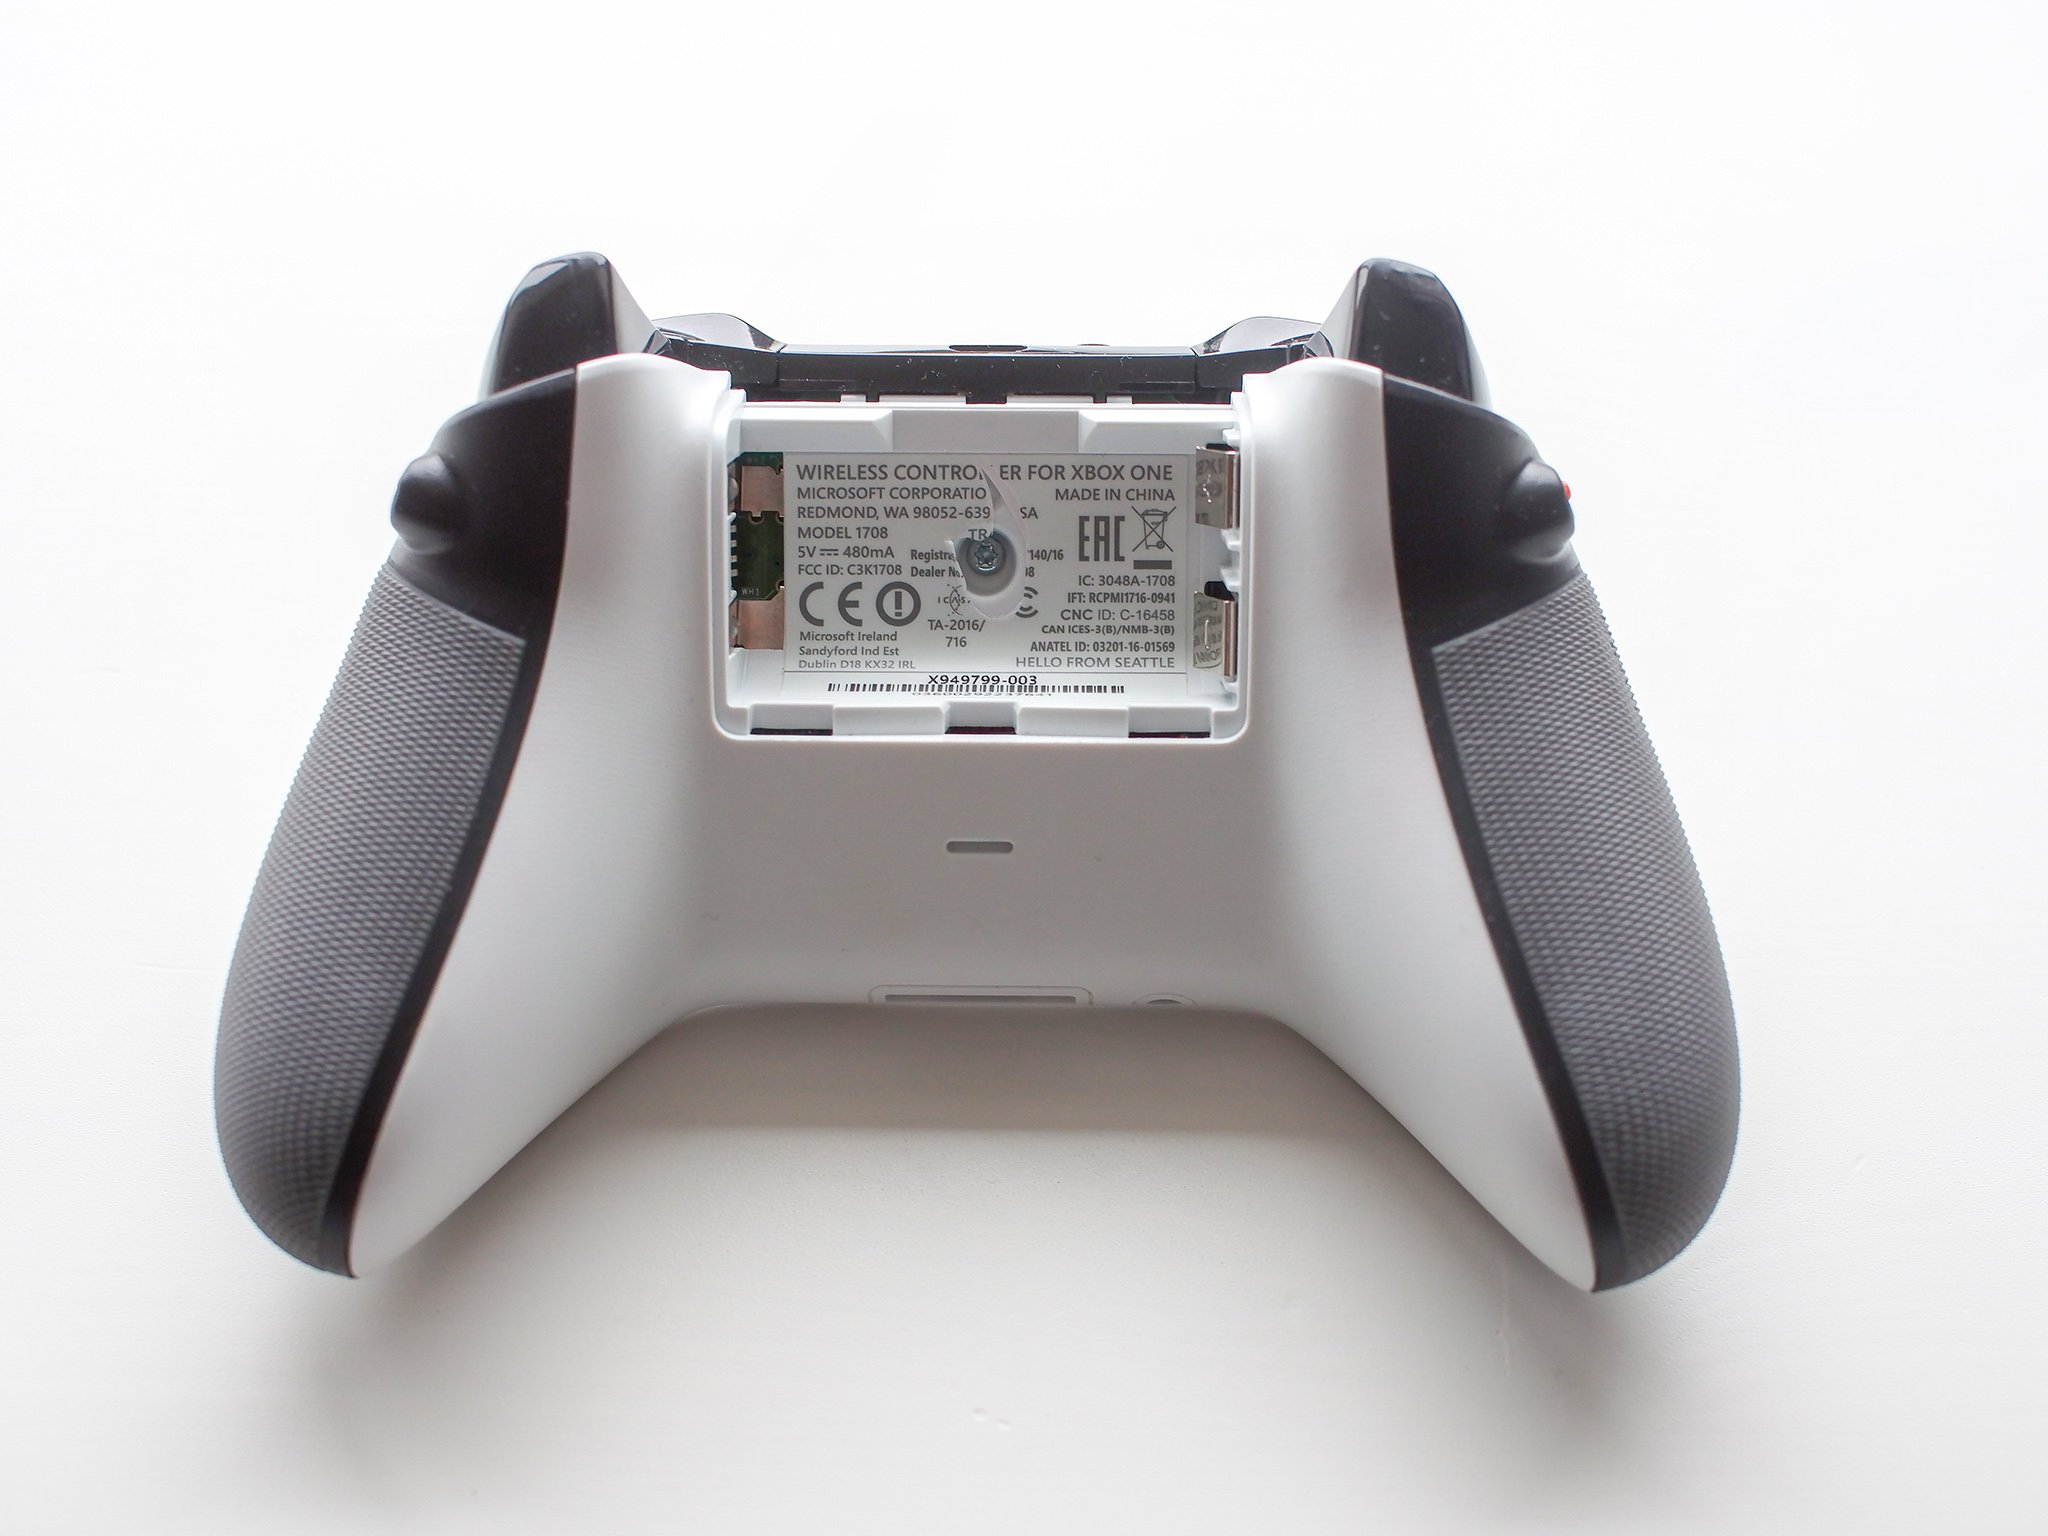
- Remove the battery door.
-
Remove the batteries from the controller.
-
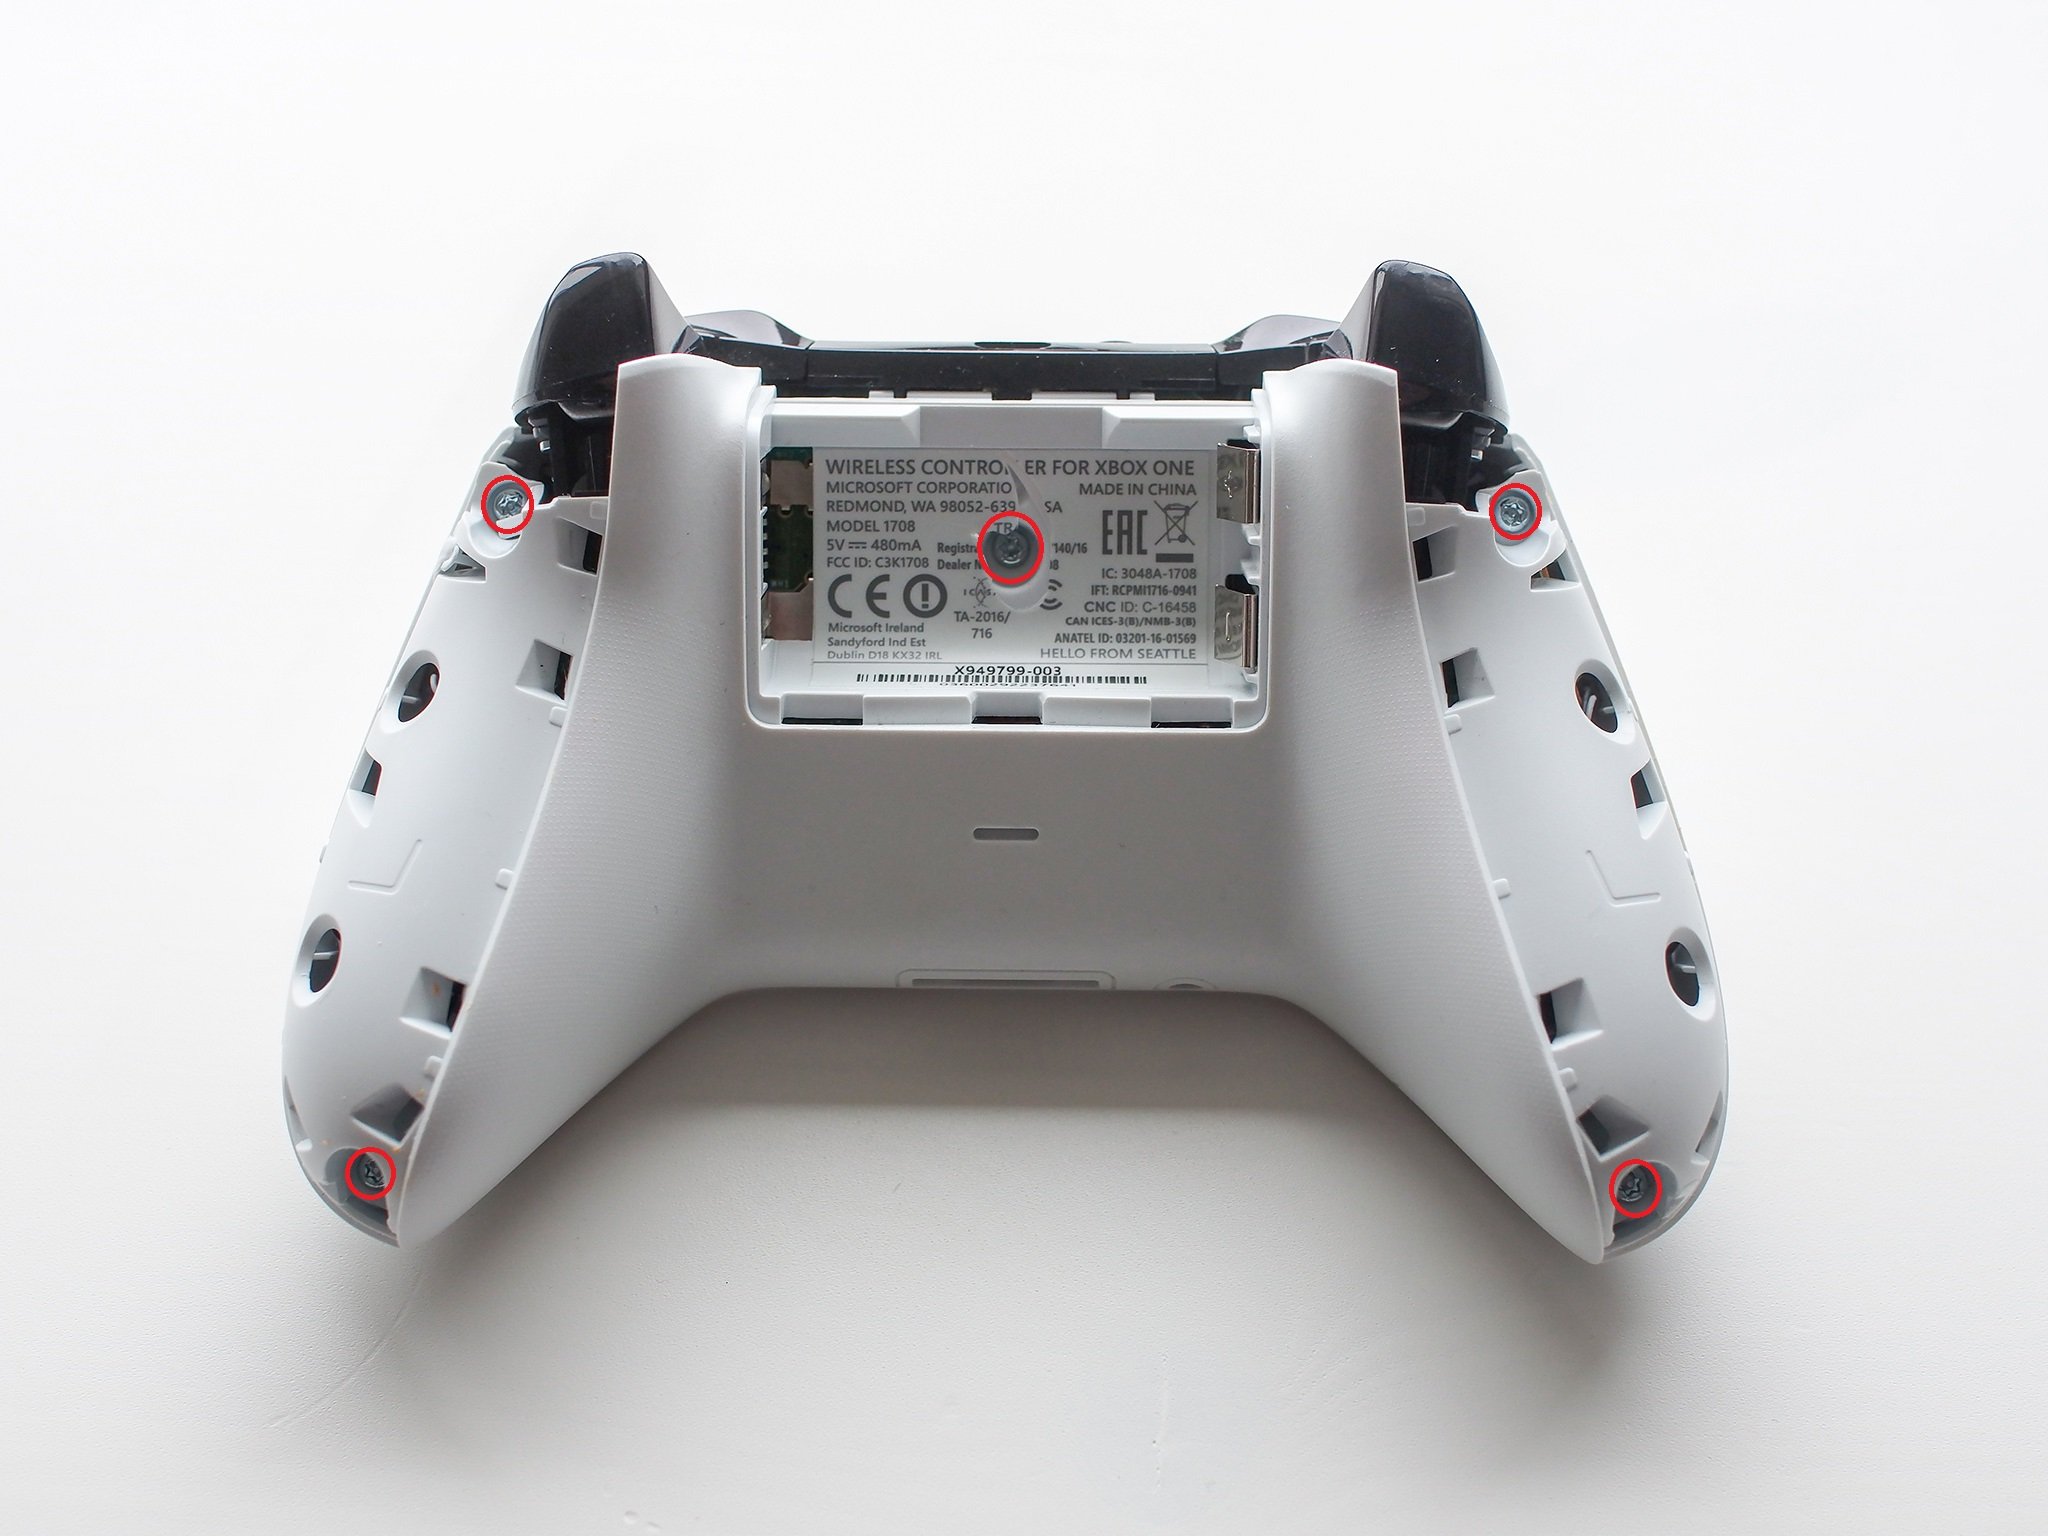
Utilise the plastic pry tool to detach the rear grips from the controller body. (One time yous've separated them, pull firmly to remove them from the body.)

-
Y'all now have five screws to remove as shown in the image with the T8 screwdriver. (The 5th is located beneath the battery label so you'll accept to pierce information technology or remove information technology entirely.)
-
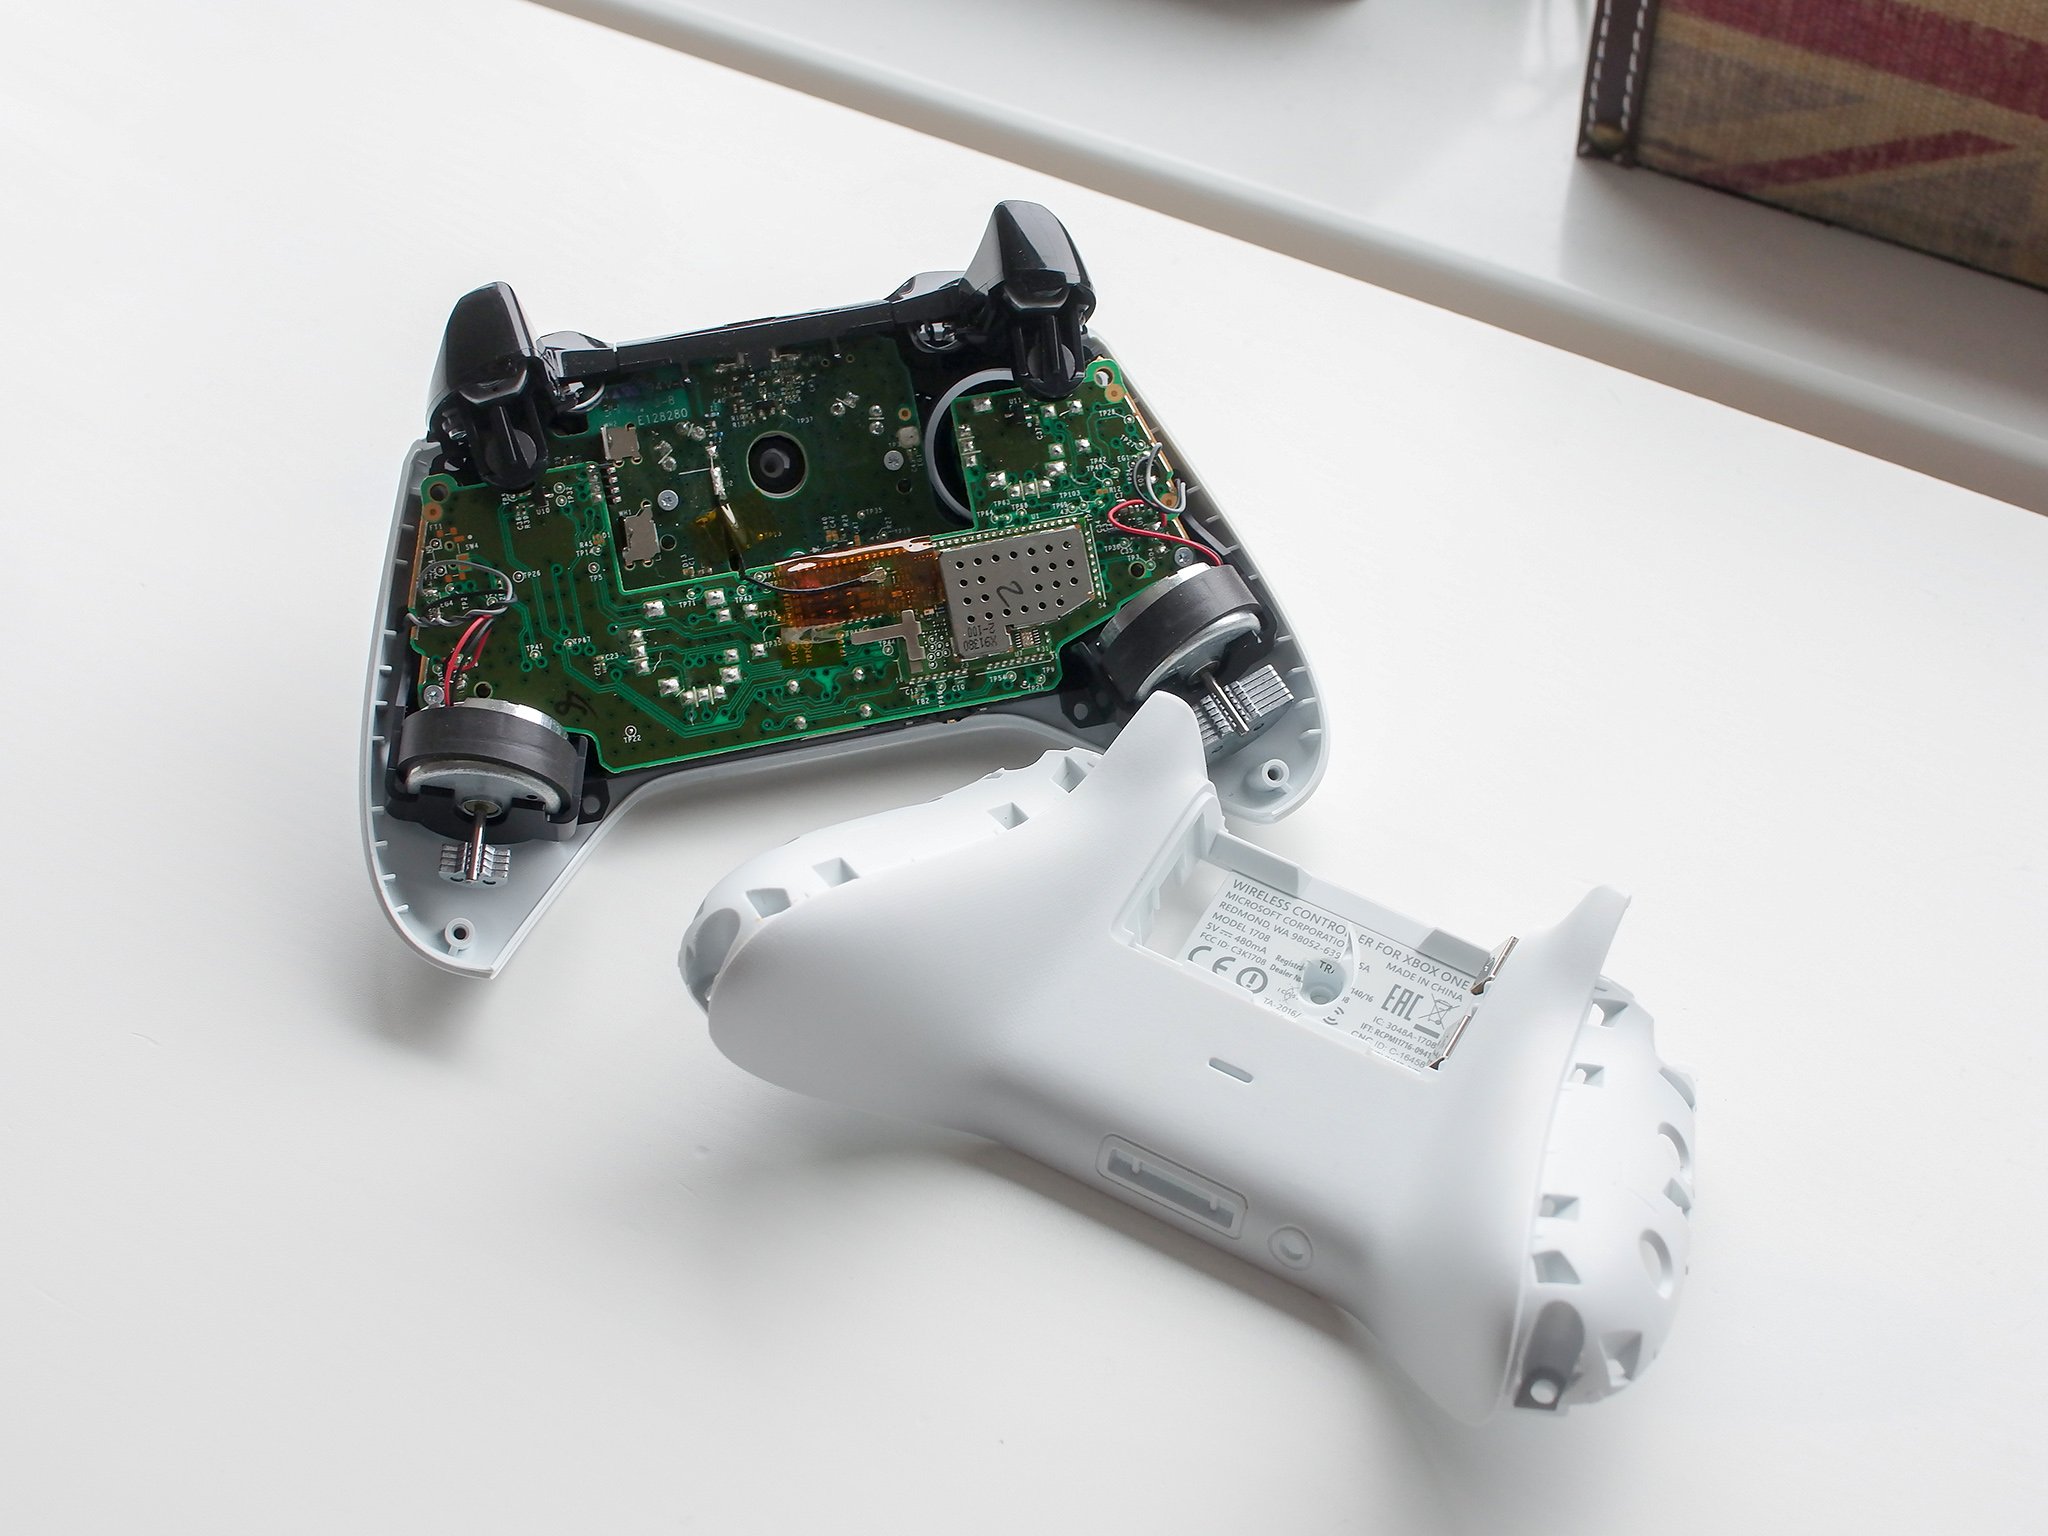
Pull the backplate away from the controller body.
-
Flip the controller around and pull the faceplate away from the controller body.

-
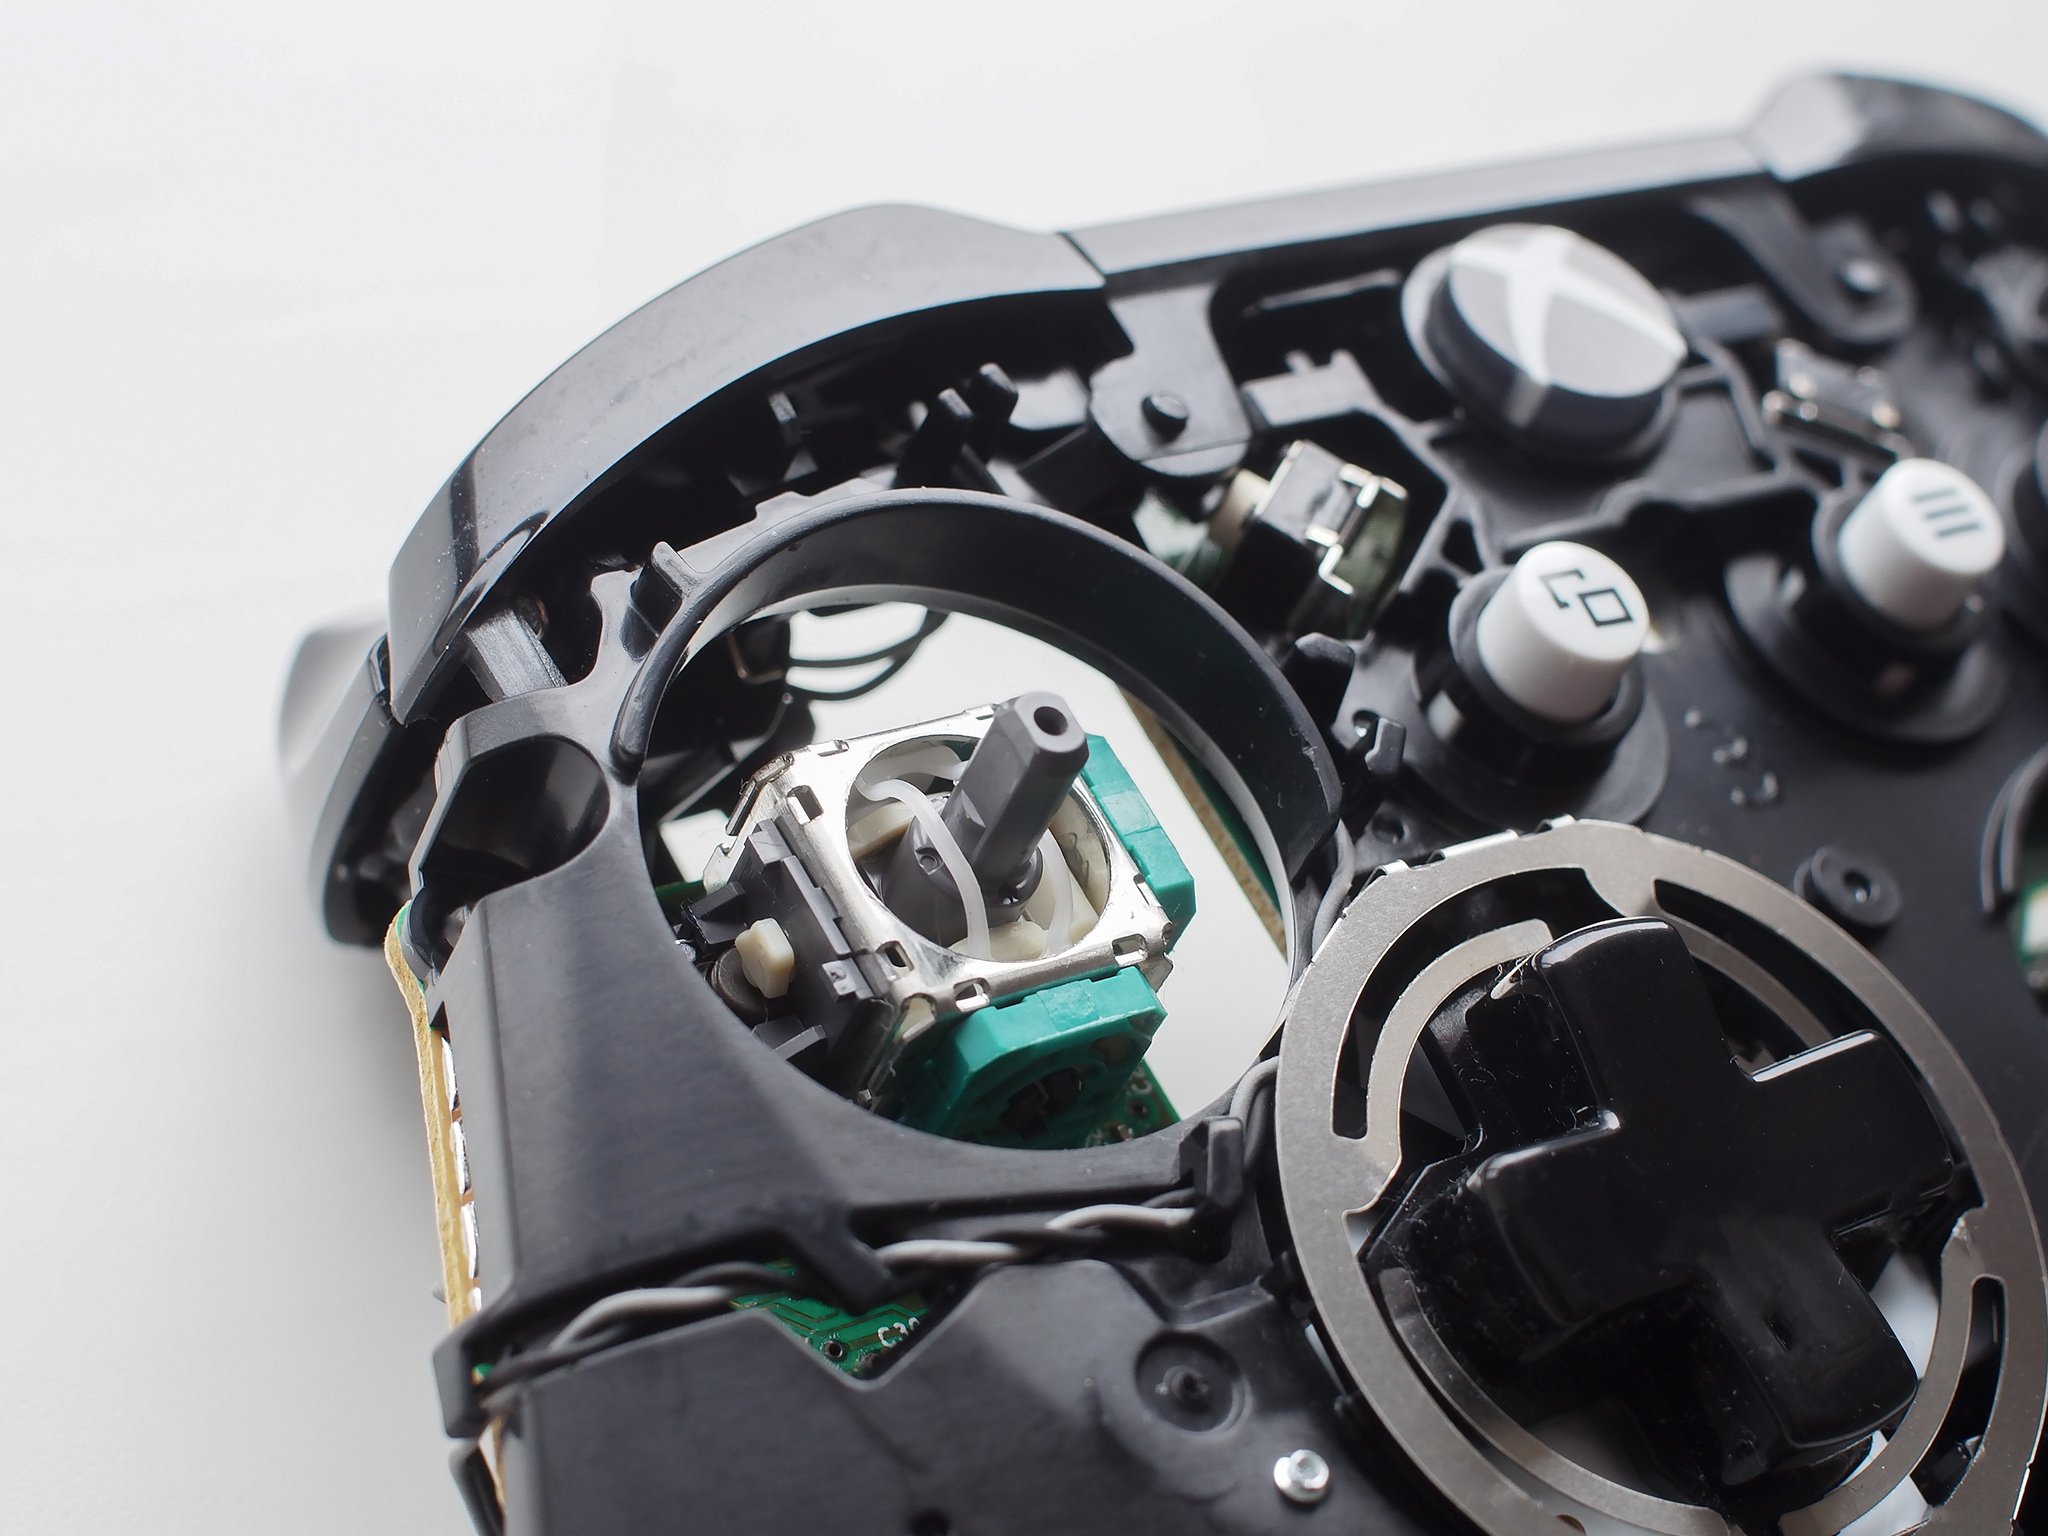
Pull the thumbsticks direct upwards to detach from their poles.
-
Push your new thumbsticks downwards on the poles.
- Repeat the steps in a higher place in reverse to reassemble your controller.


Note, if y'all have an bodily issue with the thumbstick machinery, such as migrate or misalignment, replacing the thumbsticks won't set up this. Just if you've got some nasty looking worn sticks, for a few dollars and 15 minutes of your time, you'll be fixed up speedily.
How to add trigger stops to a regular Xbox One controller for only $20
Nosotros may earn a committee for purchases using our links. Larn more than.

Oh Beloved
New report reveals Microsoft's time to come AR strategy; HoloLens three is expressionless
Business organisation Insider has today published a follow-upward report with more than details near Microsoft's canceled HoloLens 3 augmented reality headset. The partnership with Samsung is said to include a headset with a set of screens inside, powered by a Samsung telephone in your pocket.
Keeping it affordable
Review: Surface Laptop SE is the new standard for K-8 Windows PCs
Starting at just $250, Microsoft's first foray into affordable laptops for the didactics marketplace is a winner. With a gorgeous design, first-class thermals, and a fantastic typing experience, Microsoft would do right to sell this directly to consumers too. Allow'south merely hope Intel can make a ameliorate CPU.

Source: https://www.windowscentral.com/how-replace-xbox-one-controller-thumbsticks
Posted by: browncritheing.blogspot.com
0 Response to "How to replace Xbox One controller thumbsticks"
Post a Comment